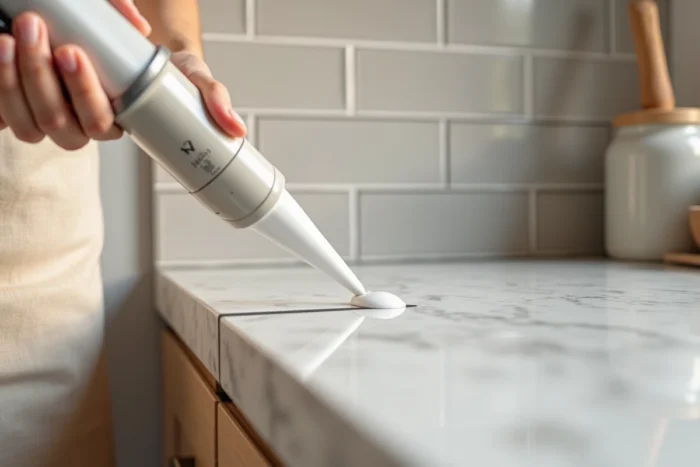
The gap between a wall and a kitchen countertop varies from a few millimeters to several centimeters depending on the configurations. This gap rarely results from an installation error: old walls often have plumb issues, plaster irregularities, or angles that do not form exactly 90 degrees. Choosing the right filling method primarily depends on the measured width, the material of the countertop, and the level of exposure to moisture.
Comparison of solutions based on the gap width between wall and countertop
The choice of a finishing technique is based on a simple factor: the gap width, measured every twenty to thirty centimeters along the countertop. Here is a comparison of the main options.
| Gap Width | Suitable Solution | Materials | Durability in Humid Environments |
|---|---|---|---|
| Less than 5 mm | Sanitary silicone joint | Mold-resistant silicone | Very good (if quality silicone) |
| 5 to 12 mm | Backer rod + sealant | Polyethylene foam + acrylic or silicone sealant | Good |
| 10 to 25 mm | Sealing profile or finishing skirting | PVC, aluminum, or stainless steel | Very good |
| More than 25 mm | Wood strip + backsplash or continuous slab | Wood, laminate, ceramic stoneware | Variable depending on the material |
The measurement should include the ends of the countertop, where the wall’s plumb issue tends to become more pronounced. A gap that goes from 3 mm at one end to 15 mm at the other sometimes requires combining two methods along the same linear section.
Several techniques to fill the gap between wall and countertop adapt to these scenarios, considering both aesthetics and protection against moisture.
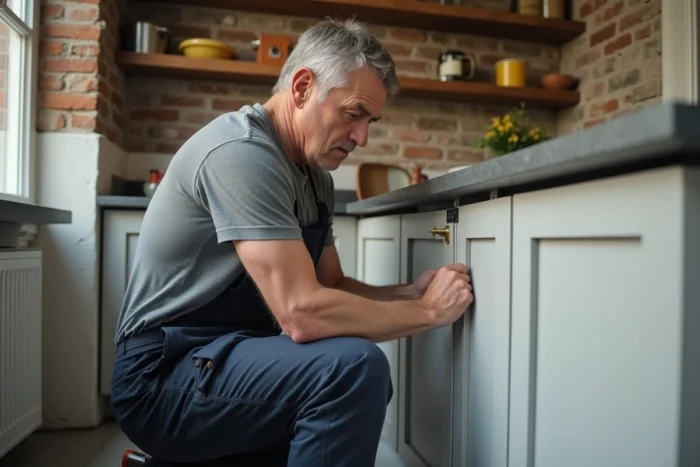
Sanitary silicone and backer rod: performance gap analysis in the kitchen
The sanitary silicone joint remains the most commonly used solution for gaps less than 5 mm. Its application seems simple, but the quality of the result depends on prior degreasing. Cleaning both surfaces (wall and edge of the countertop) with isopropyl alcohol before application ensures adhesion for several years.
For gaps between 5 and 12 mm, silicone alone is no longer sufficient. It sinks into the space and does not form a regular joint. A backer rod made of polyethylene foam, inserted first into the gap, serves as a support for the sealant and limits product consumption.
Common mistakes that reduce the lifespan of the joint
- Applying silicone on a greasy or dusty surface: the joint peels off within a few months, especially near the cooktop where splashes are constant
- Neglecting masking tape: without a clear boundary, the smoothing overflows and creates an irregular finish that is impossible to clean up properly
- Choosing a non “kitchen and bath” rated acrylic sealant: standard acrylic does not withstand repeated moisture cycles near a sink or dishwasher
- Smoothing with a wet finger instead of using a proper smoothing tool: the joint profile becomes concave and retains water instead of draining it
On the other hand, a quality mold-resistant silicone, applied on clean surfaces with well-placed masking tape, remains functional for several years without visible yellowing.
Aluminum or PVC finishing profile: when the joint is no longer sufficient
Beyond 10 mm, the sealing profile takes over. These strips, available in PVC, brushed aluminum, or stainless steel, are attached by gluing or clipping onto the edge of the countertop. The profile conceals the gap while providing a barrier against infiltration.
The choice of material for the profile directly impacts the kitchen’s finish. Brushed aluminum integrates well into contemporary kitchens. White PVC suits tight budgets but yellows faster under heat and UV exposure. Stainless steel lasts longer, provided it is cleaned without abrasive products.
Fixing the profile on an uneven wall
On a wall that is not straight, a rigid profile reveals micro-gaps in places. Applying a bead of silicone on the lip of the profile side against the wall before installation helps compensate for these irregularities. The silicone here acts as a secondary flexible joint, not a structural fix.
The combination of profile + sealing silicone represents the best compromise for gaps between 10 and 25 mm in most kitchen configurations.
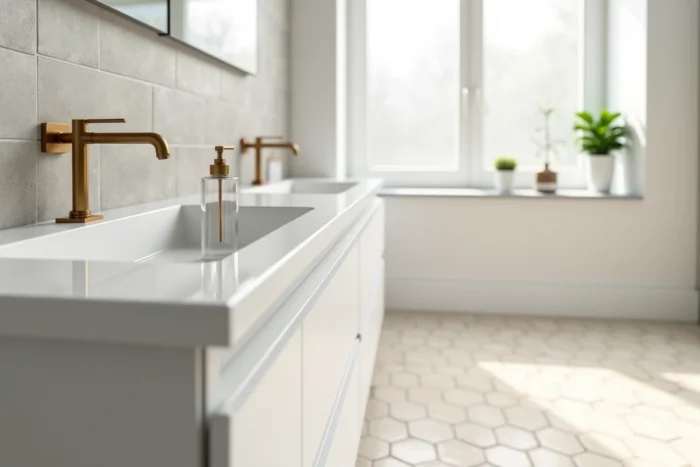
Continuous slab countertop-backsplash: removing the gap rather than filling it
A recent trend among kitchen designers is to use a large continuous slab that serves as both countertop and backsplash. In large format ceramic stoneware or mineral surface, this slab rises directly to the wall, physically eliminating any gap between the countertop and the wall.
This approach eliminates the problem at the source rather than addressing it afterward. It is particularly suitable for new kitchens or complete renovations where the countertop is replaced. Its cost is significantly higher than a simple profile or joint, but the resulting finish is seamless.
Link with the NF DTU 36.2 updated in November 2025
The new edition of the NF DTU 36.2 “Interior Joinery and Fitting”, published in November 2025 by the French Federation of Building, now includes fitted furniture and kitchen countertops within its scope. This document updates the rules of the art regarding the conditions for implementing materials, finishing, and evaluating the appearance of works.
For professionals as well as demanding individuals, this standard provides a reference framework on alignment tolerances and the continuity of cladding, including at the junction of wall and countertop.
Regardless of the gap width, precise measurement remains the starting point for any successful intervention. A measurement every twenty centimeters, careful degreasing, and the choice of a material suited to kitchen exposure are sufficient to achieve a durable finish. Gaps of less than 5 mm are treated with sanitary silicone, medium gaps with profiles, and complete renovations benefit from considering the continuous slab that eliminates the problem at its root.