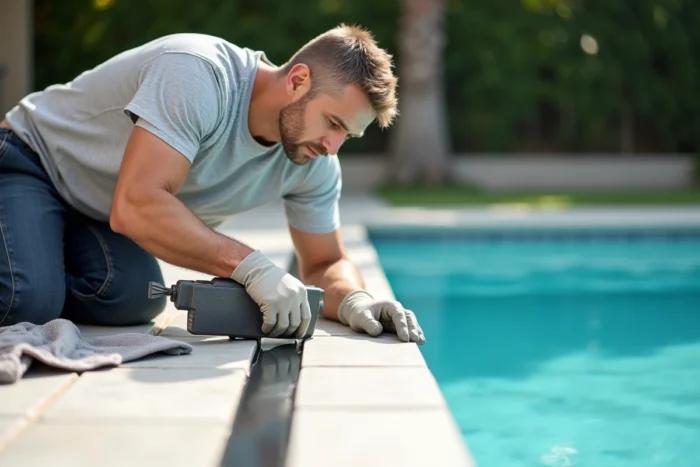
Applying an epoxy joint directly over an existing pool joint seems logical for saving time, but the result depends on measurable parameters: residual joint depth, substrate moisture content, and the surface condition of the tiles. This article analyzes the technical thresholds that separate a durable renovation from an adhesion failure within a few months.
Residual moisture and acid preparation: the two underestimated variables
Most installation guides focus on the resin-hardener mix and the application technique. The determining factor lies upstream: the hygrometric state of the substrate.
A drained pool retains capillary moisture in the cement joints for several days. A still damp substrate causes epoxy adhesion to fail, even if the surface feels dry to the touch. Several feedbacks from professionals recommend a simple test: stick a piece of clear plastic film over the existing joint for a few hours. If condensation appears under the film, drying is insufficient.
Understanding the conditions for an epoxy joint on an existing joint helps anticipate this type of trap before starting the project.
Mechanical cleaning (brush, vacuum) is not enough for an old pool. Limescale deposits and greasy films create an invisible barrier between the cement joint and the epoxy resin. A slightly acidic cleaning followed by thorough rinsing removes the laitance and mineral residues. Complete drying after this rinsing is a crucial step, not just a logistical detail.
| Parameter | Favorable Threshold | Risk Threshold |
|---|---|---|
| Substrate Moisture | Dry substrate (no condensation in the plastic film test) | Visible condensation under the film after a few hours |
| Depth of Existing Joint | Joint excavated by several millimeters, good mechanical grip | Joint flush or nearly full, insufficient grip |
| Surface Cleanliness | Acid cleaning + rinsing + complete drying | Only dry cleaning, limescale or greasy residues |
| Ambient Temperature | Mild weather, sheltered from direct sunlight | High heat (accelerates setting, reduces working time) |
Cement Joint Depth: The Mechanical Grip Threshold
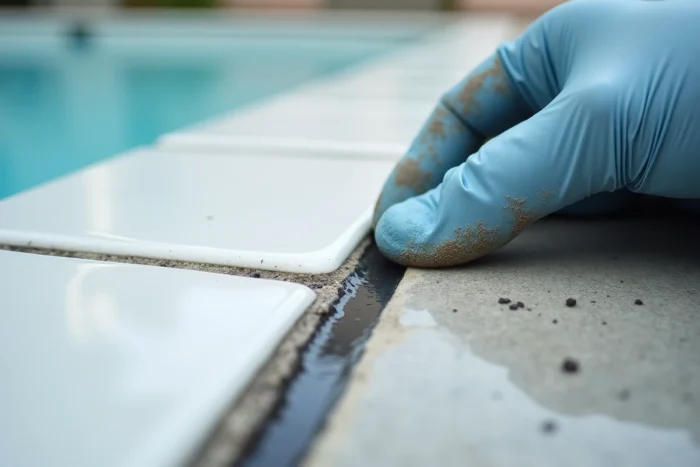
An epoxy joint does not adhere to a smooth, flush cement joint. Adhesion relies equally on chemical grip and mechanical anchoring in the joint cavity.
In an old pool, the joints are often partially emptied due to wear or the passage of a pressure cleaner. This phenomenon, far from being a problem, creates the necessary depth. A joint excavated by at least two millimeters provides sufficient anchoring for the epoxy to hold over time.
On the other hand, if the joints are still full and in good visual condition, the epoxy resin lacks enough material to grip. In this case, partial excavation using a suitable tool (joint scraper, oscillating tool with a fine blade) is necessary before any application. Attempting to apply epoxy as a thick layer over a full joint results in a fragile layer that peels off due to thermal variations in the pool.
Organizing the Epoxy Project in a Pool: Working in Short Zones
The open working time of an epoxy mortar is significantly shorter than that of a traditional cement joint. Once the two components are mixed, the resin begins to harden and quickly becomes difficult to smooth.
This constraint requires a precise method:
- Prepare small quantities of the mix, corresponding to a surface of a few square meters maximum, to prevent the product from hardening in the bucket before application.
- Work in pairs: one person applies the joint with a rubber squeegee, while the other immediately cleans the excess on the tiles with a suitable damp sponge (some manufacturers provide specific sponges for epoxy resin).
- Clean the tools between each batch, as hardened residues on the squeegee or spatula compromise the application quality of subsequent areas.
A failed epoxy project is almost always due to preparing too large a volume of mix at once. The reflex to “save time” by mixing a large volume produces the opposite effect: the setting accelerates, smoothing becomes impossible, and cleaning the tiles then requires aggressive stripping.
Adjusting the Pace to the Temperature
In hot weather, the working time is further reduced. If the pool is exposed to direct sunlight, the resin can start to set within a few minutes. Working early in the morning or late in the day extends the application window and facilitates smoothing.
Water Refill Delay After Epoxy Application on Pool
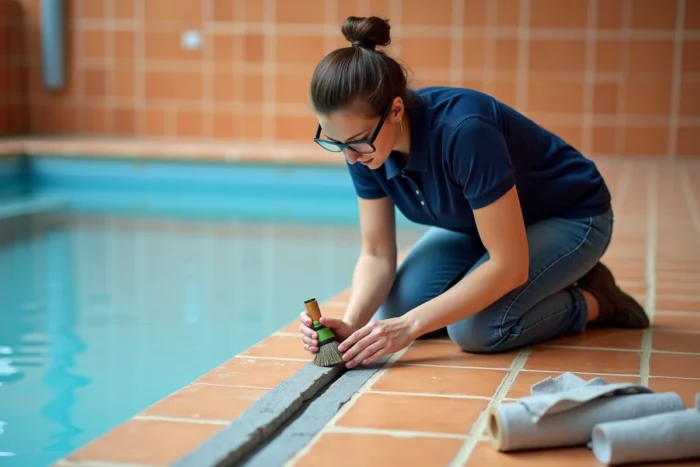
The most common trap at the end of the project concerns the water refill. An epoxy joint that feels dry to the touch is not one that has reached its final chemical resistance.
The complete polymerization of the resin takes several days, and this delay varies according to temperature and ambient humidity. Filling the pool too early exposes the joint to prolonged contact with water before the crosslinking is complete, which can cause surface whitening or localized loss of adhesion.
The technical data sheets from manufacturers indicate a service resumption delay. This delay is not indicative: it is the minimum for the resin to achieve its sealing properties and resistance to water treatment products (chlorine, bromine, salt).
- Adhere to the manufacturer’s delay without shortening, even if the joint seems hard.
- Avoid filling in cold weather, as polymerization slows down and the actual delay extends.
- Do not add treatment products to the water during the first hours after refilling, to avoid chemically stressing a joint still in the final hardening process.
The success of an epoxy joint on an existing joint in a pool relies less on the application technique than on the rigor of the preparatory steps. Complete drying of the substrate, sufficient anchoring depth, and adherence to the polymerization delay form the technical triptych that separates a durable result from a redo the following season.